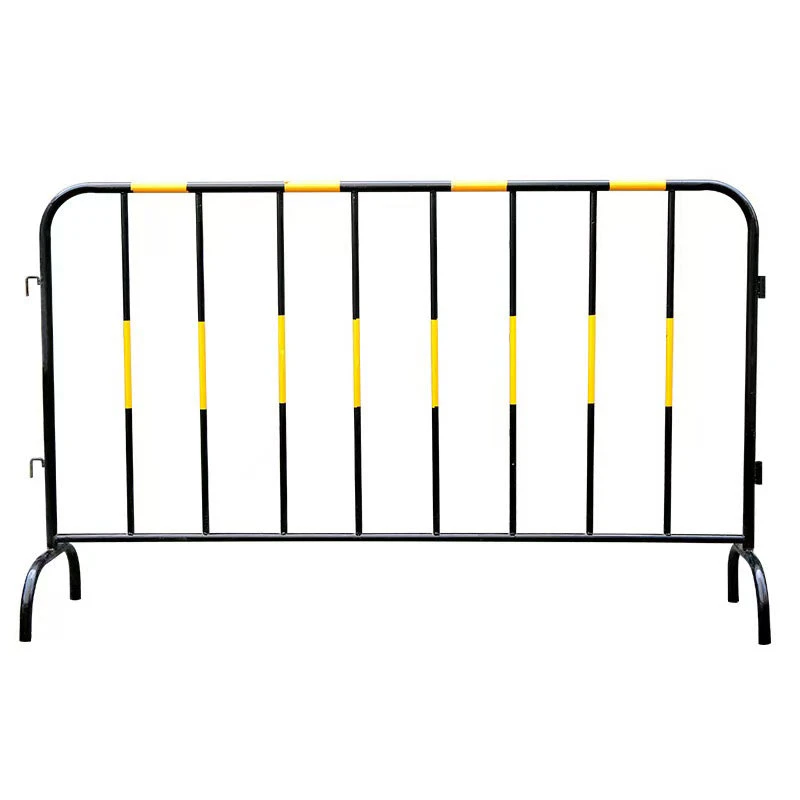
Installing a metalen hek is a practical and efficient way to add security, privacy, and visual appeal to any property. Whether you're enclosing a garden, backyard, or commercial area, metal fencing offers durability and minimal maintenance. This step-by-step guide provides a basic overview of how to install a metal fence properly.
First, plan your layout. Measure the area where the fence will be installed and mark the fence line using stakes and string. Identify where posts, gates, and corners will be located. Always check for underground utilities before digging and consult local building codes or homeowner association rules.
Second, set the posts. Dig holes for the fence posts using a post hole digger, making sure they are deep enough to support the height of the fence. Add gravel at the bottom of each hole for drainage, then insert the metal post. Pour concrete around the post and use a level to ensure it stands vertically straight. Let the concrete cure for at least 24 hours.
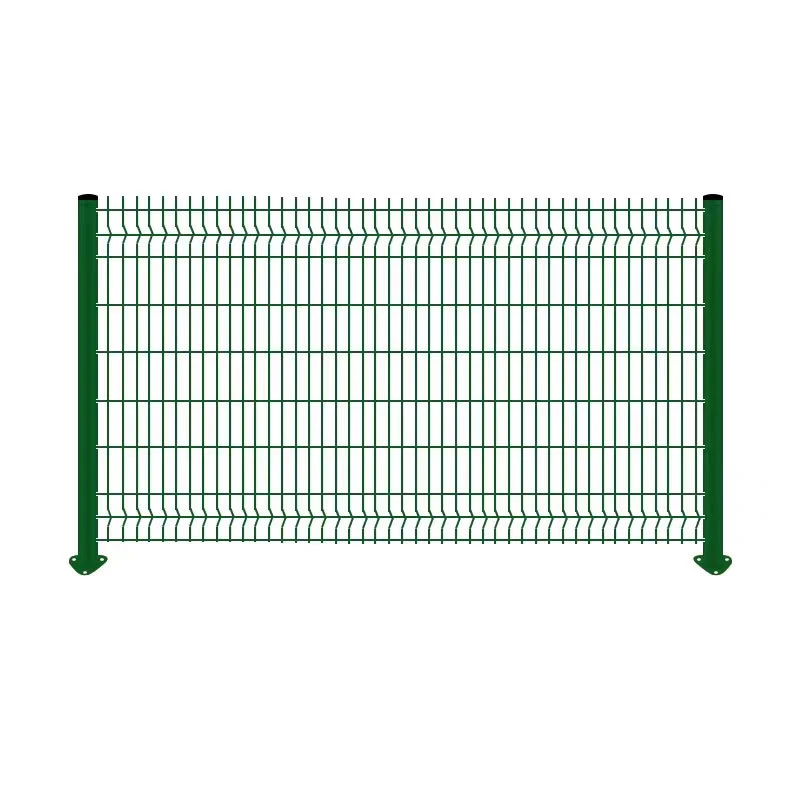
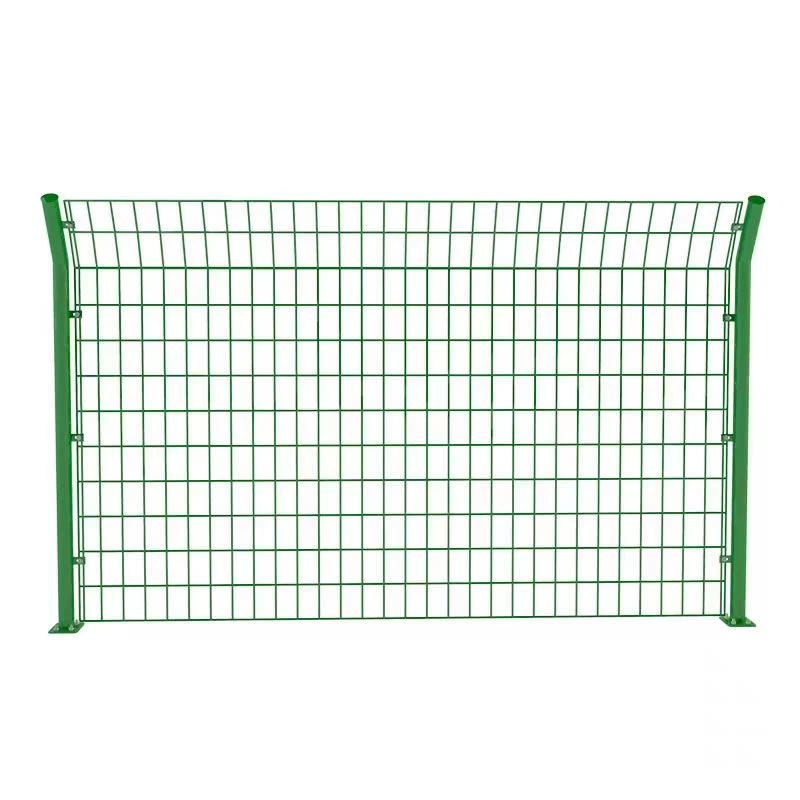
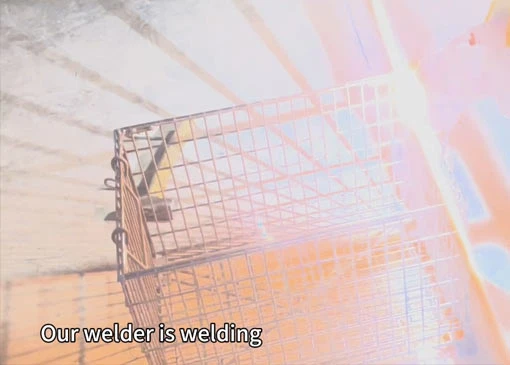
Next, attach the metal panels or rails. Once the posts are secure, connect the horizontal rails or attach prefabricated panels according to the manufacturer's instructions. Use brackets, screws, or welding, depending on the fence design. Double-check the alignment to ensure all panels are level and evenly spaced.
Lastly, install the gate. Follow the specific instructions for your gate kit, making sure it swings freely and locks properly. Adjust hinges or latches as needed.
Finishing touches may include painting or sealing if your fence requires additional protection against rust or weather.
With careful planning and execution, a metal fence installation can be a manageable DIY project that adds both function and beauty to your space. For larger projects or complex terrain, consider hiring a professional installer.

